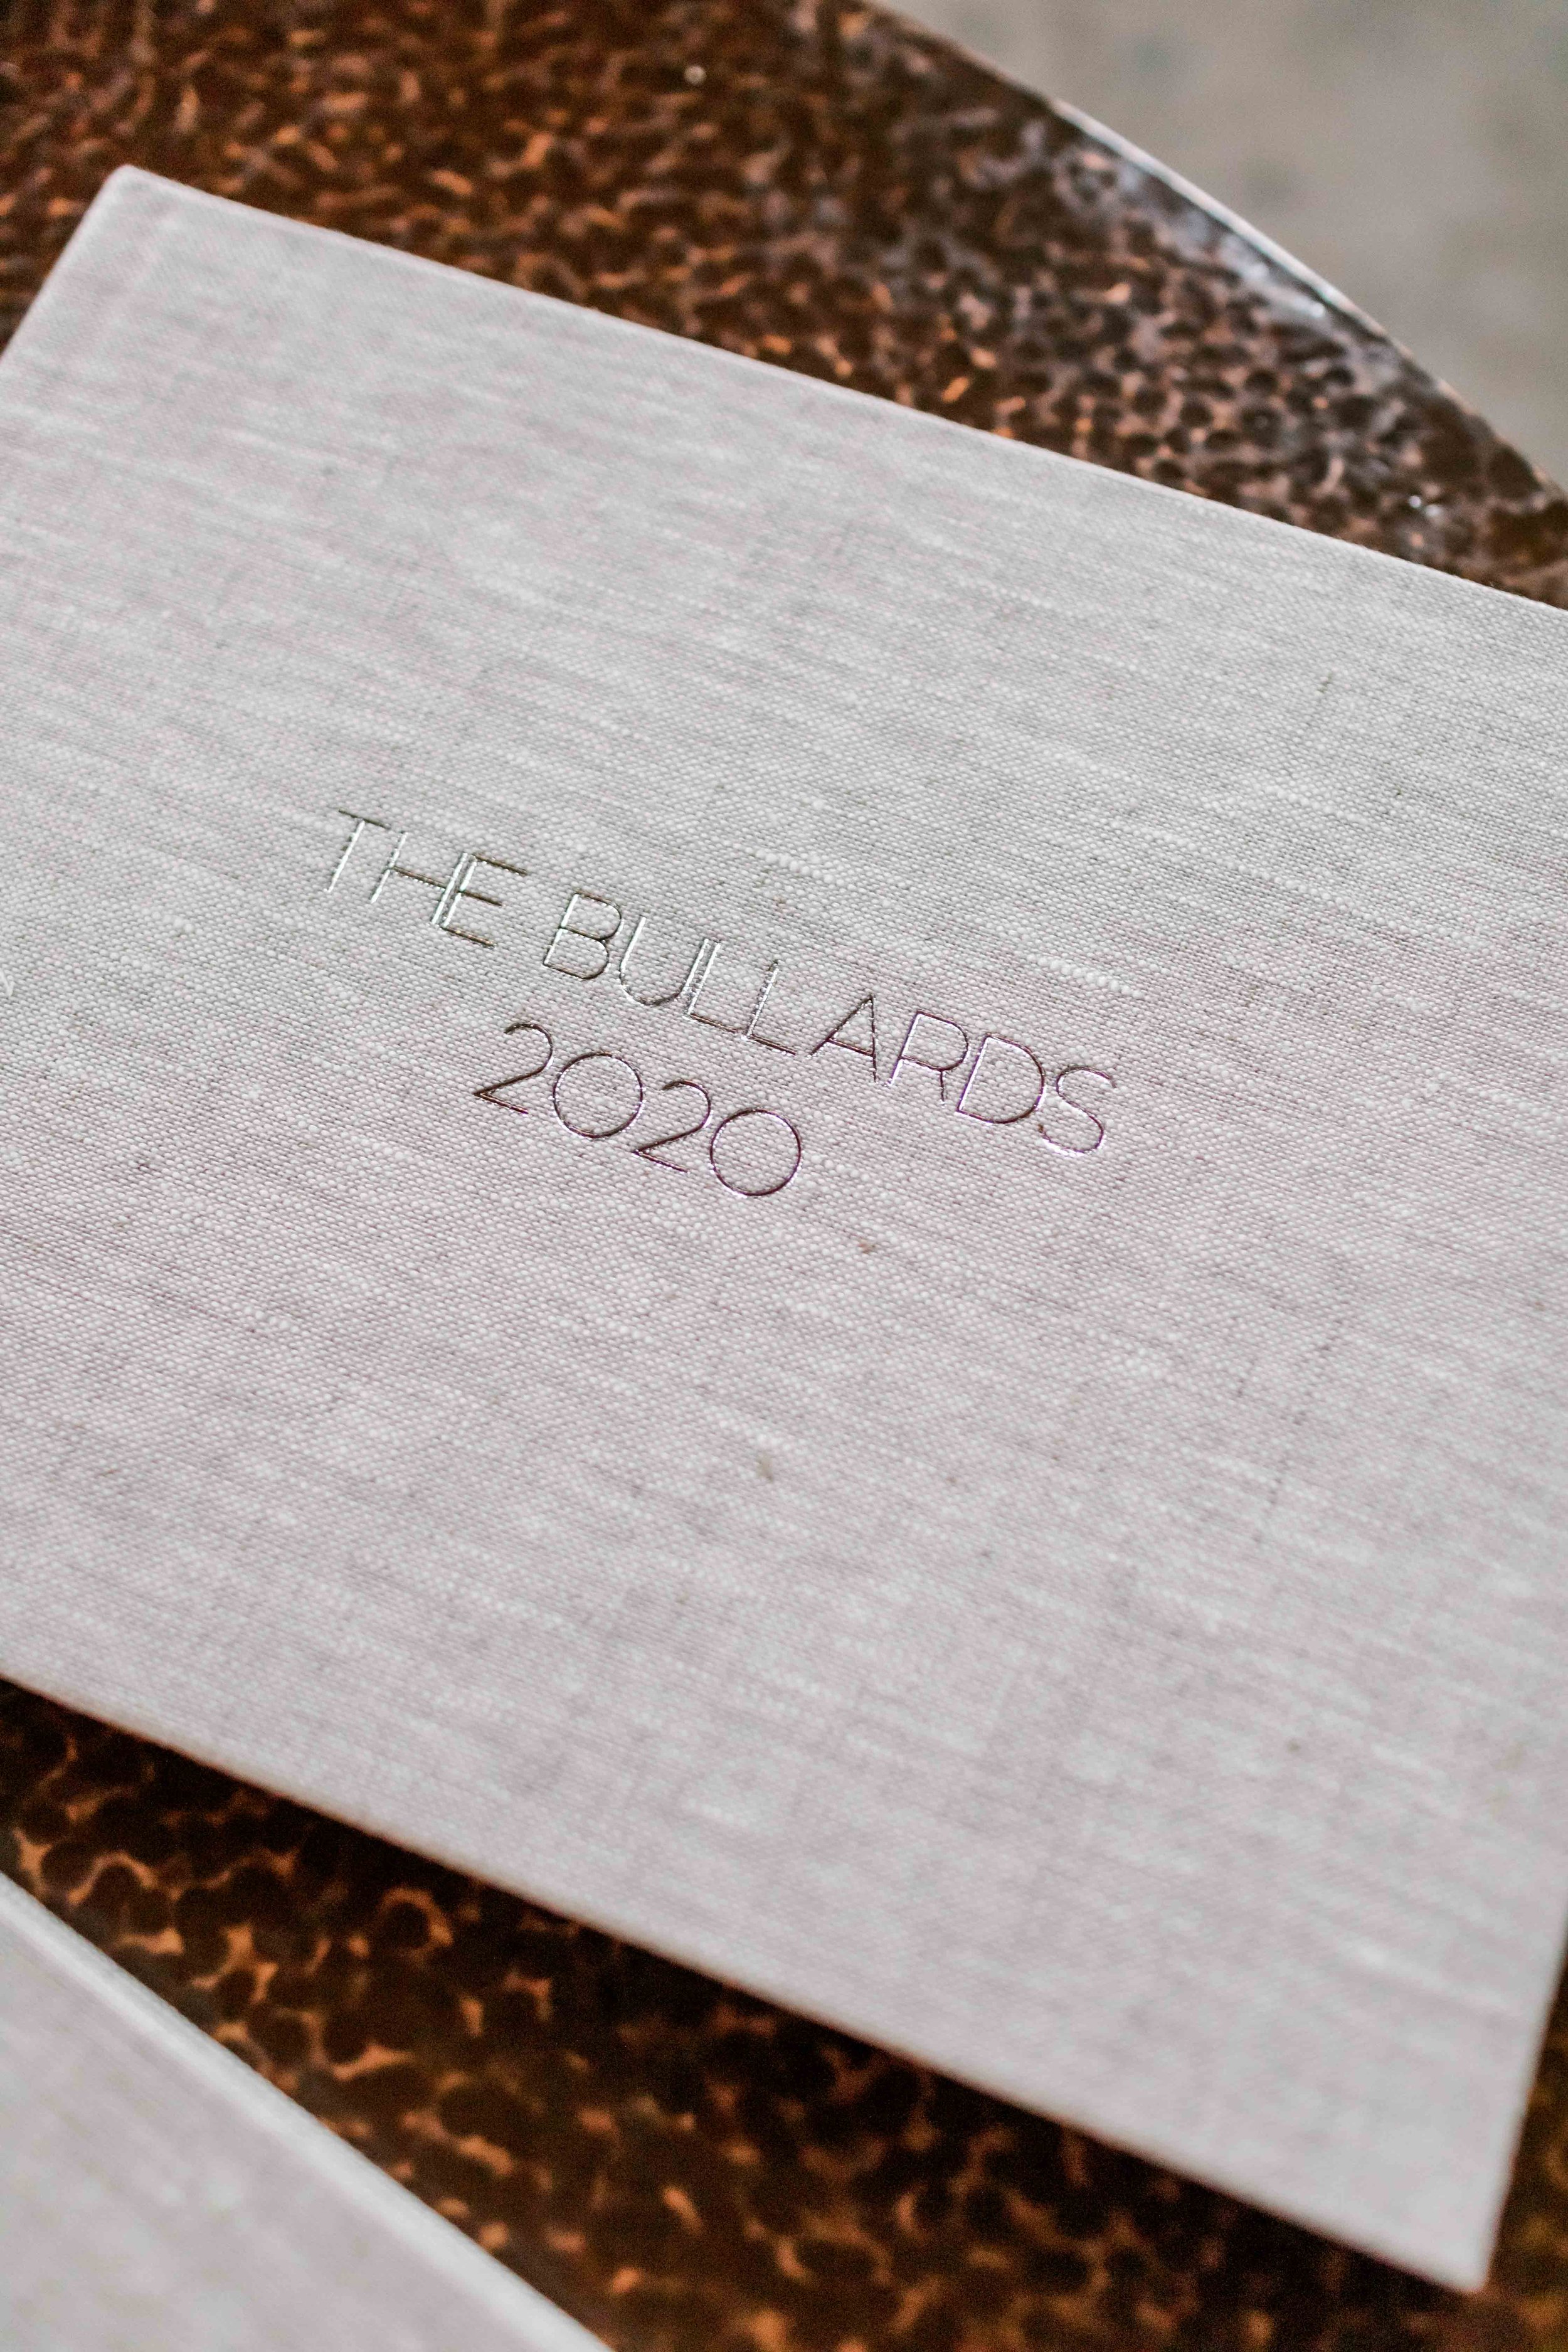
Keepsake Organization Part III: DIY Family Memory Boxes
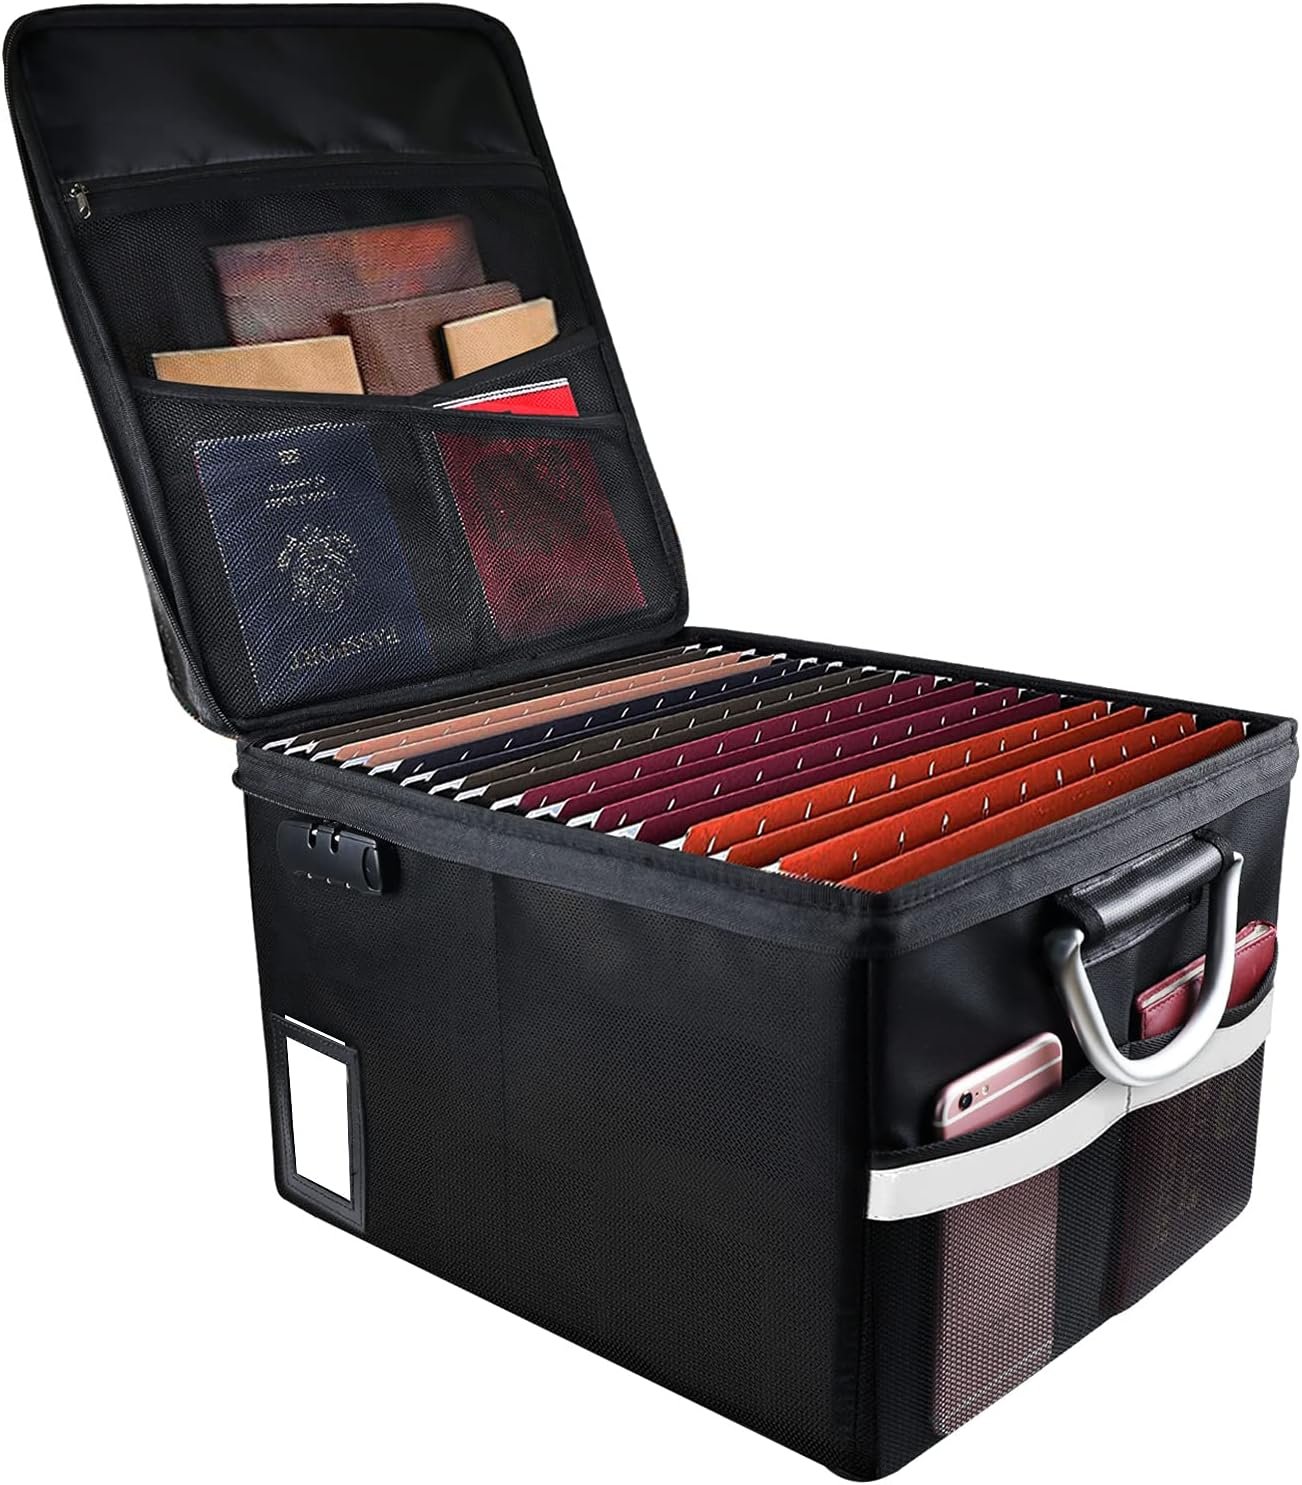
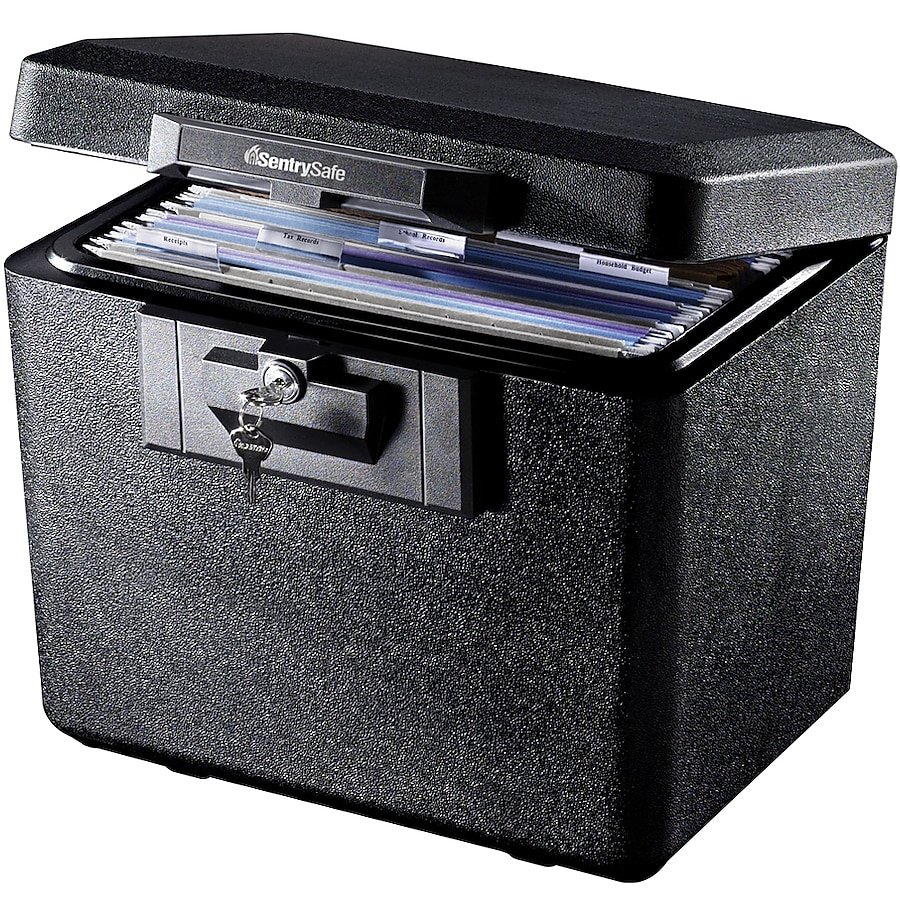
/Last on my list for organization projects to kick off 2024 (along with family yearbooks and file boxes for each child) was finding a good storage place for some of our most special family keepsakes. Our wedding memorabilia, mementos from our dating and newlywed years, and our family’s small keepsakes and loose photos all needed a home, and this set of archival storage boxes is perfect!

I got this idea from listening to Nancy Ray’s Work and Play podcast. She’s a former wedding photographer and a huge advocate for treating your family’s photos (professional photos, camera photos and iPhone photos alike) as what they truly are – your family’s legacy. Her approach inspired my giant personal photo overhaul, changing the way I approach, manage and store our family’s digital photos, but she also encourages safekeeping of printed photos and tangible memories. Her Legacy Photo System involves five boxes, but that was a little much for our family’s needs. Two is perfect for us now, and we can always get more if we need to.
These acid-free archival boxes with metal-reinforced sides prevent photos and papers from damage and from yellowing over time and while they’re obviously not fireproof or waterproof, they’re lightweight and an easy-to-access place to store things for generations.

As I was gathering photos from various places to put in these boxes, I realized that most of them have the file name and/or year they were printed in fine print on the back; however, that info isn’t really helpful if it doesn’t match up with when the photo was actually taken.
So I took a sharpie and wrote helpful information on the back of each one – date taken, ages, event if applicable. It made this project take a lot longer, but I know I’ll be glad I have those notes in many years when my memory gets fuzzy. You think you’ll remember, but I could barely remember things about photos that were taken 5 or 10 years ago, so I know it’ll only get harder!

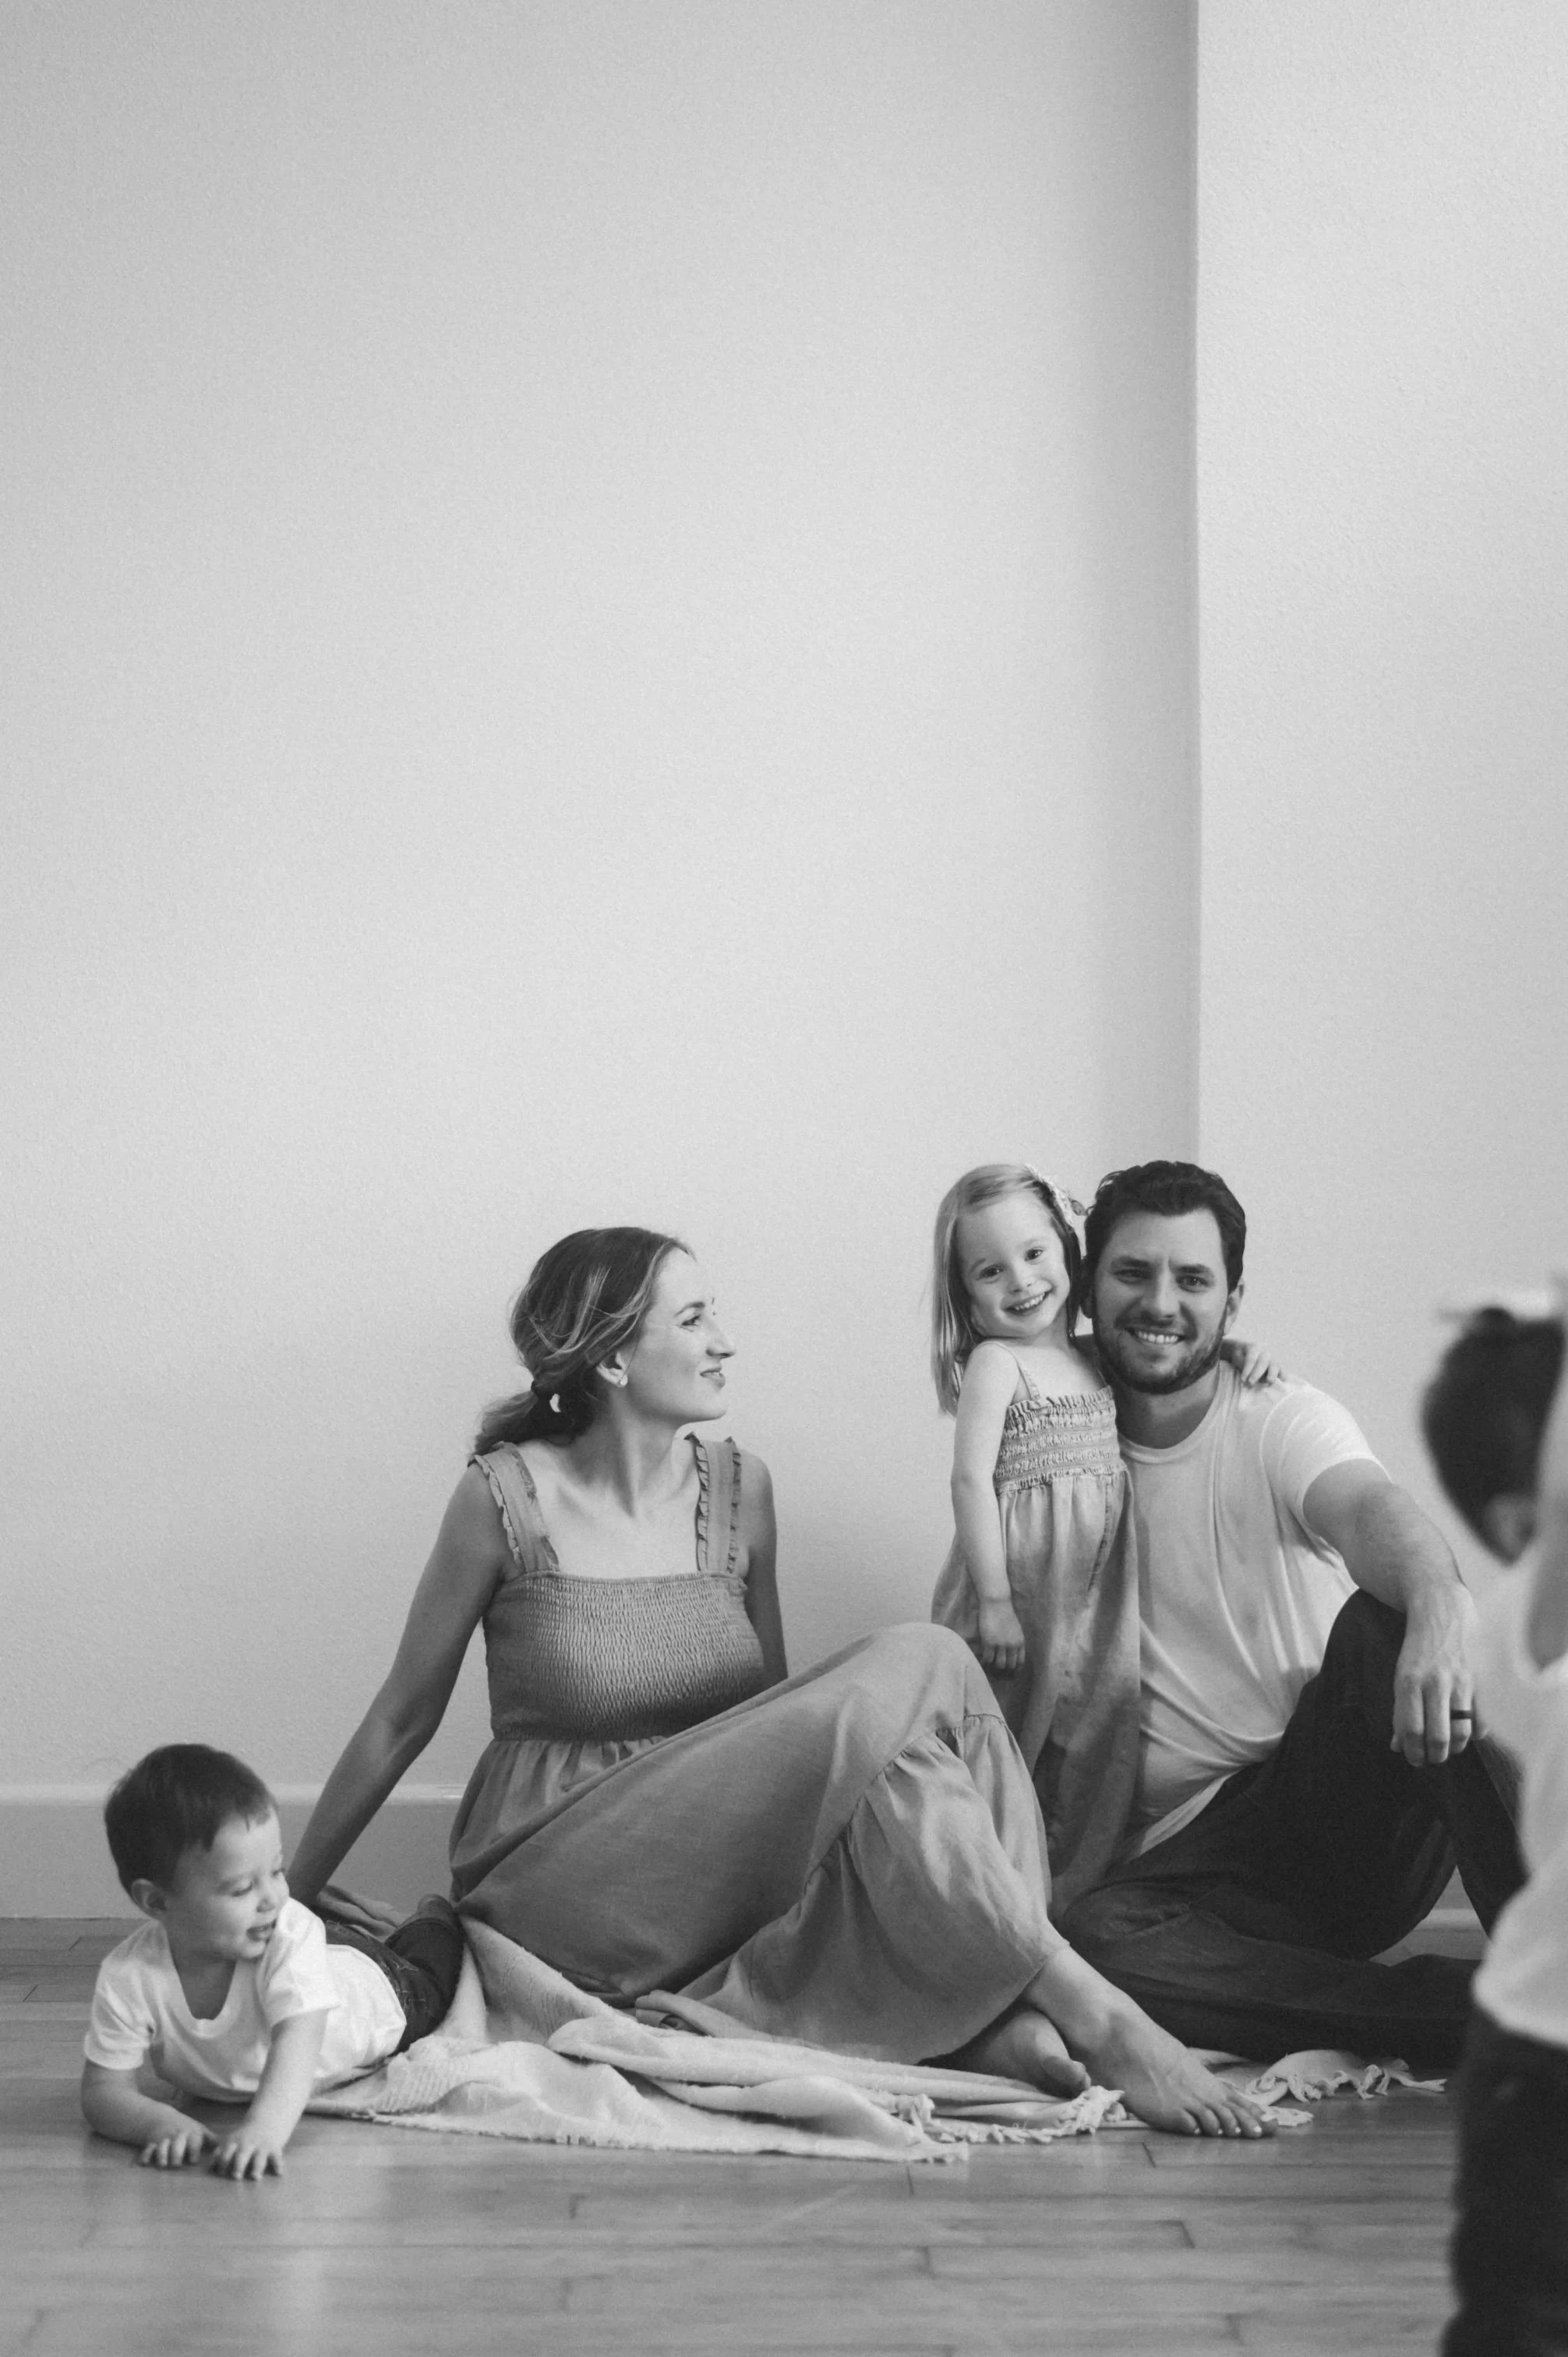
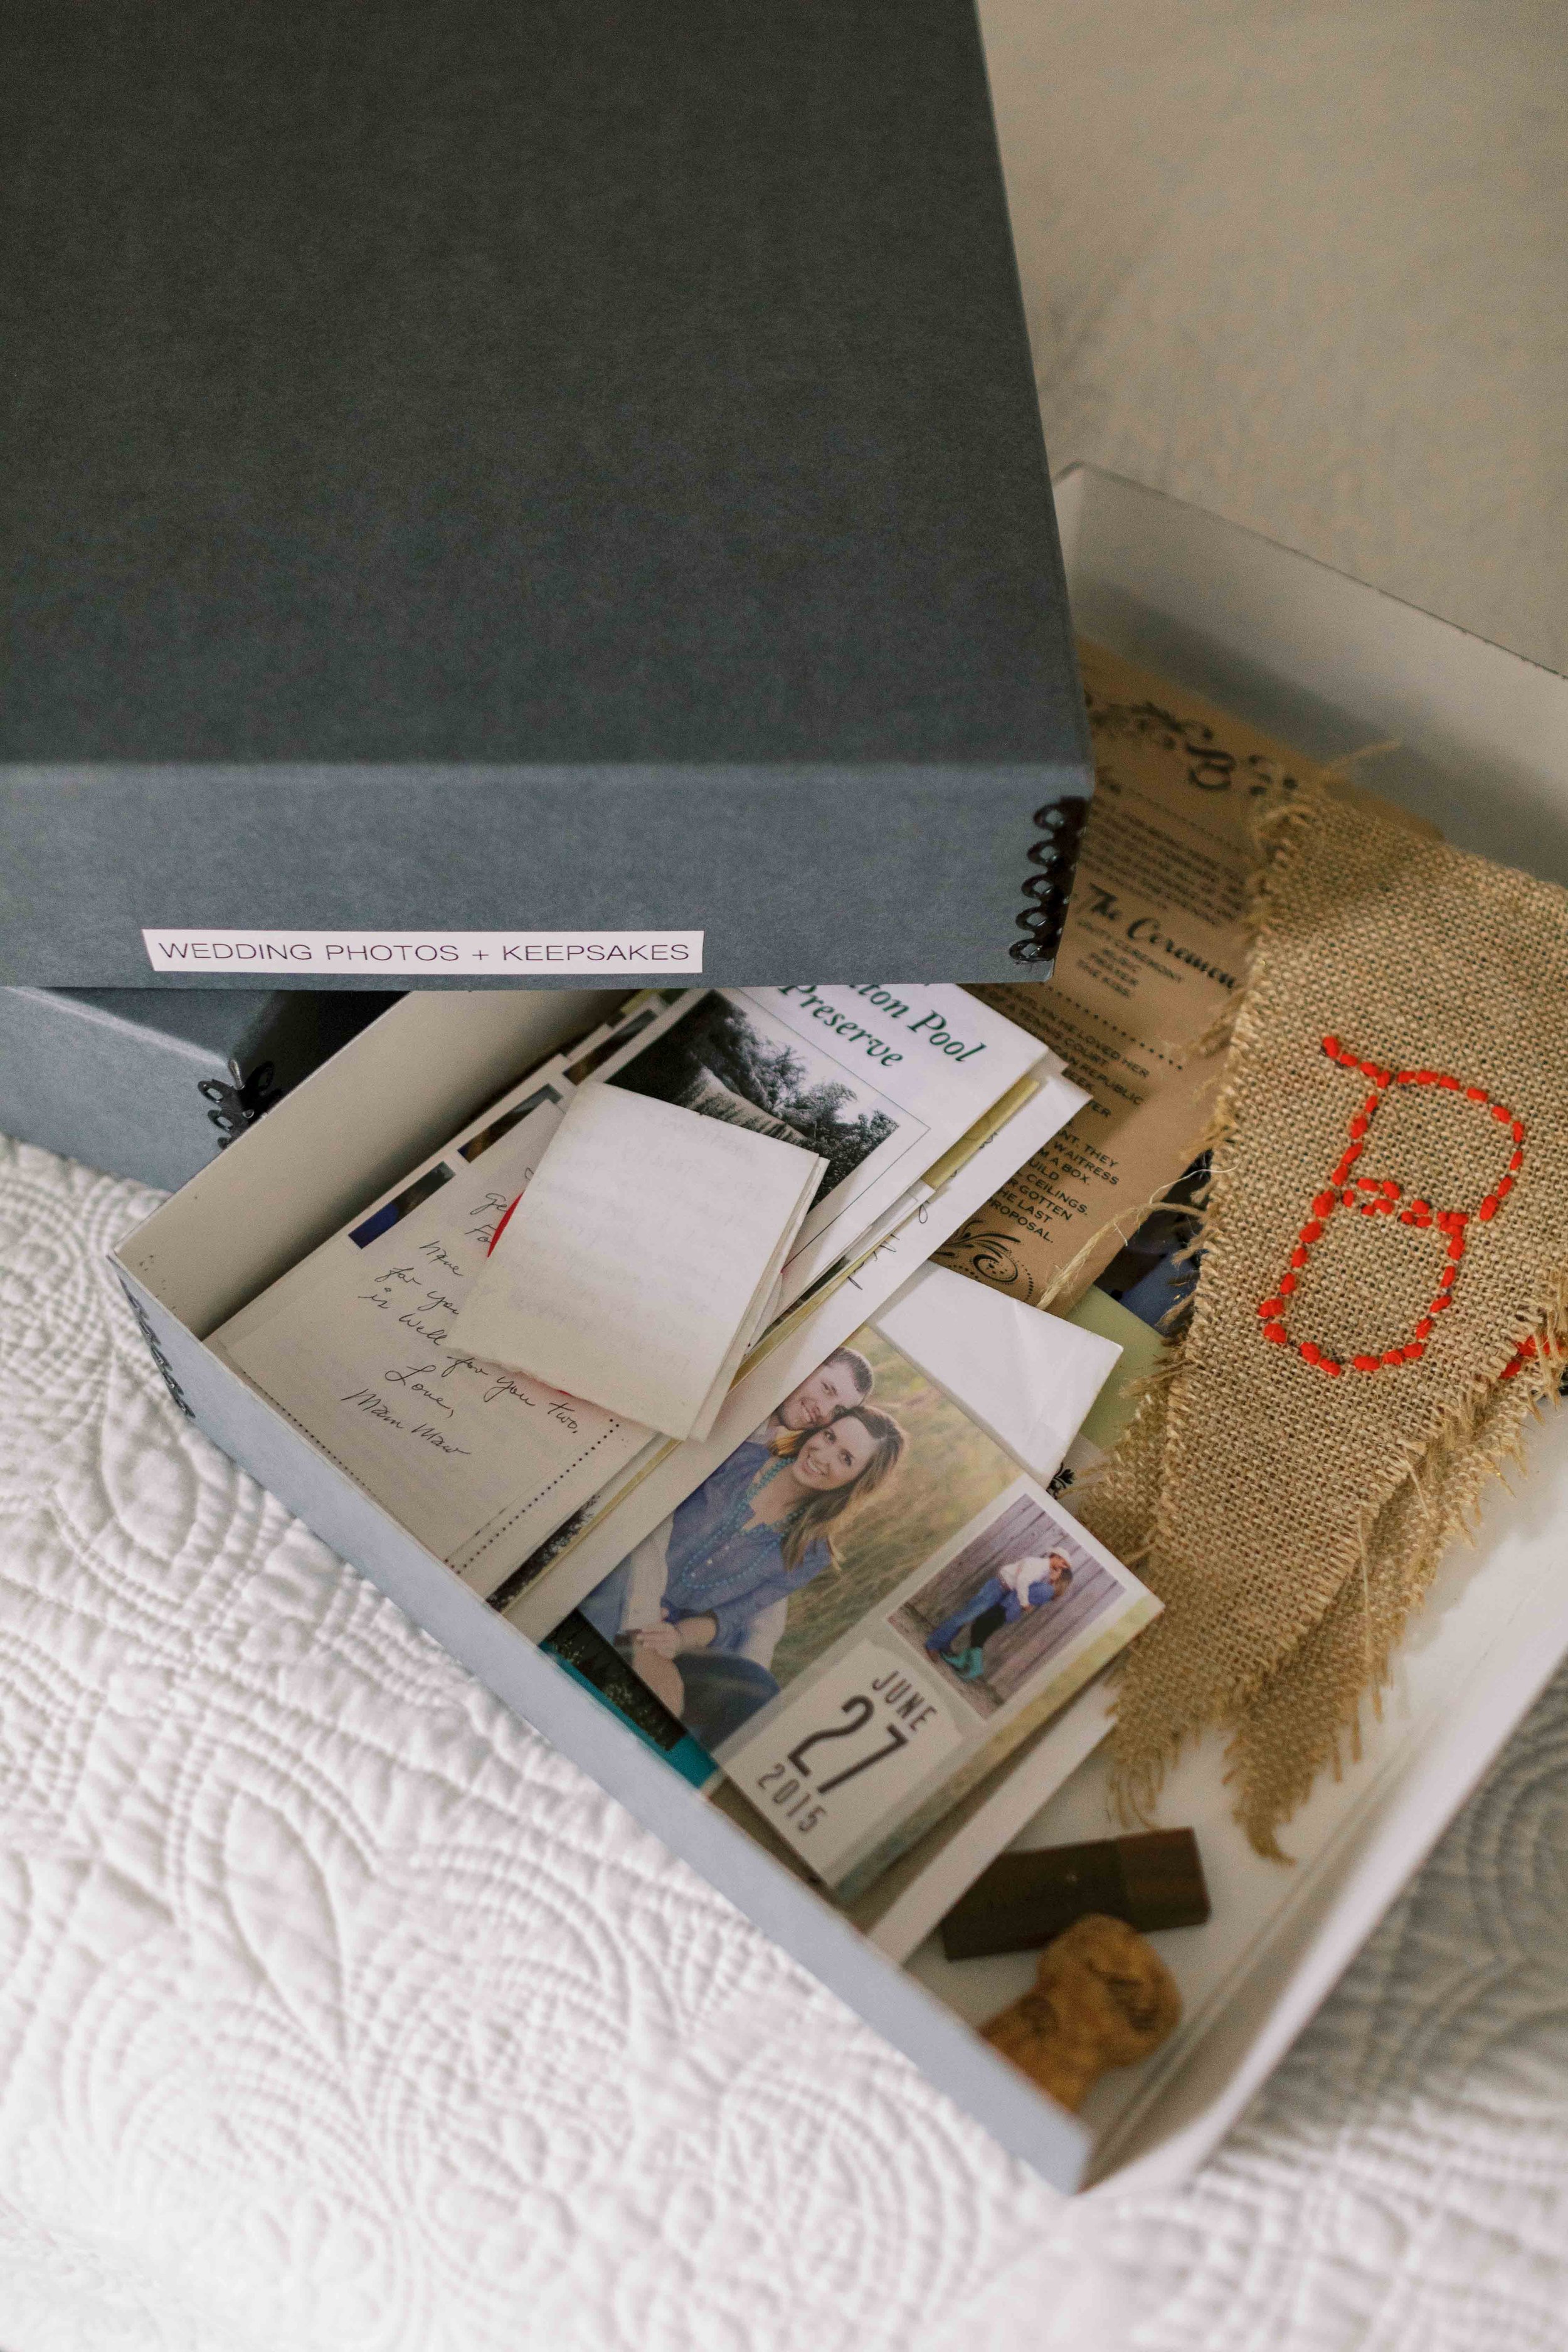
In our wedding box, I put our save the date, stationery from our wedding, letters we wrote to each other, mementos from the day we got engaged, a handmade banner my then-7-year-old cousin sewed for us, the USB with our wedding photos, and all of our loose printed photos from our wedding. Essentially, anything pre-children goes in this box.
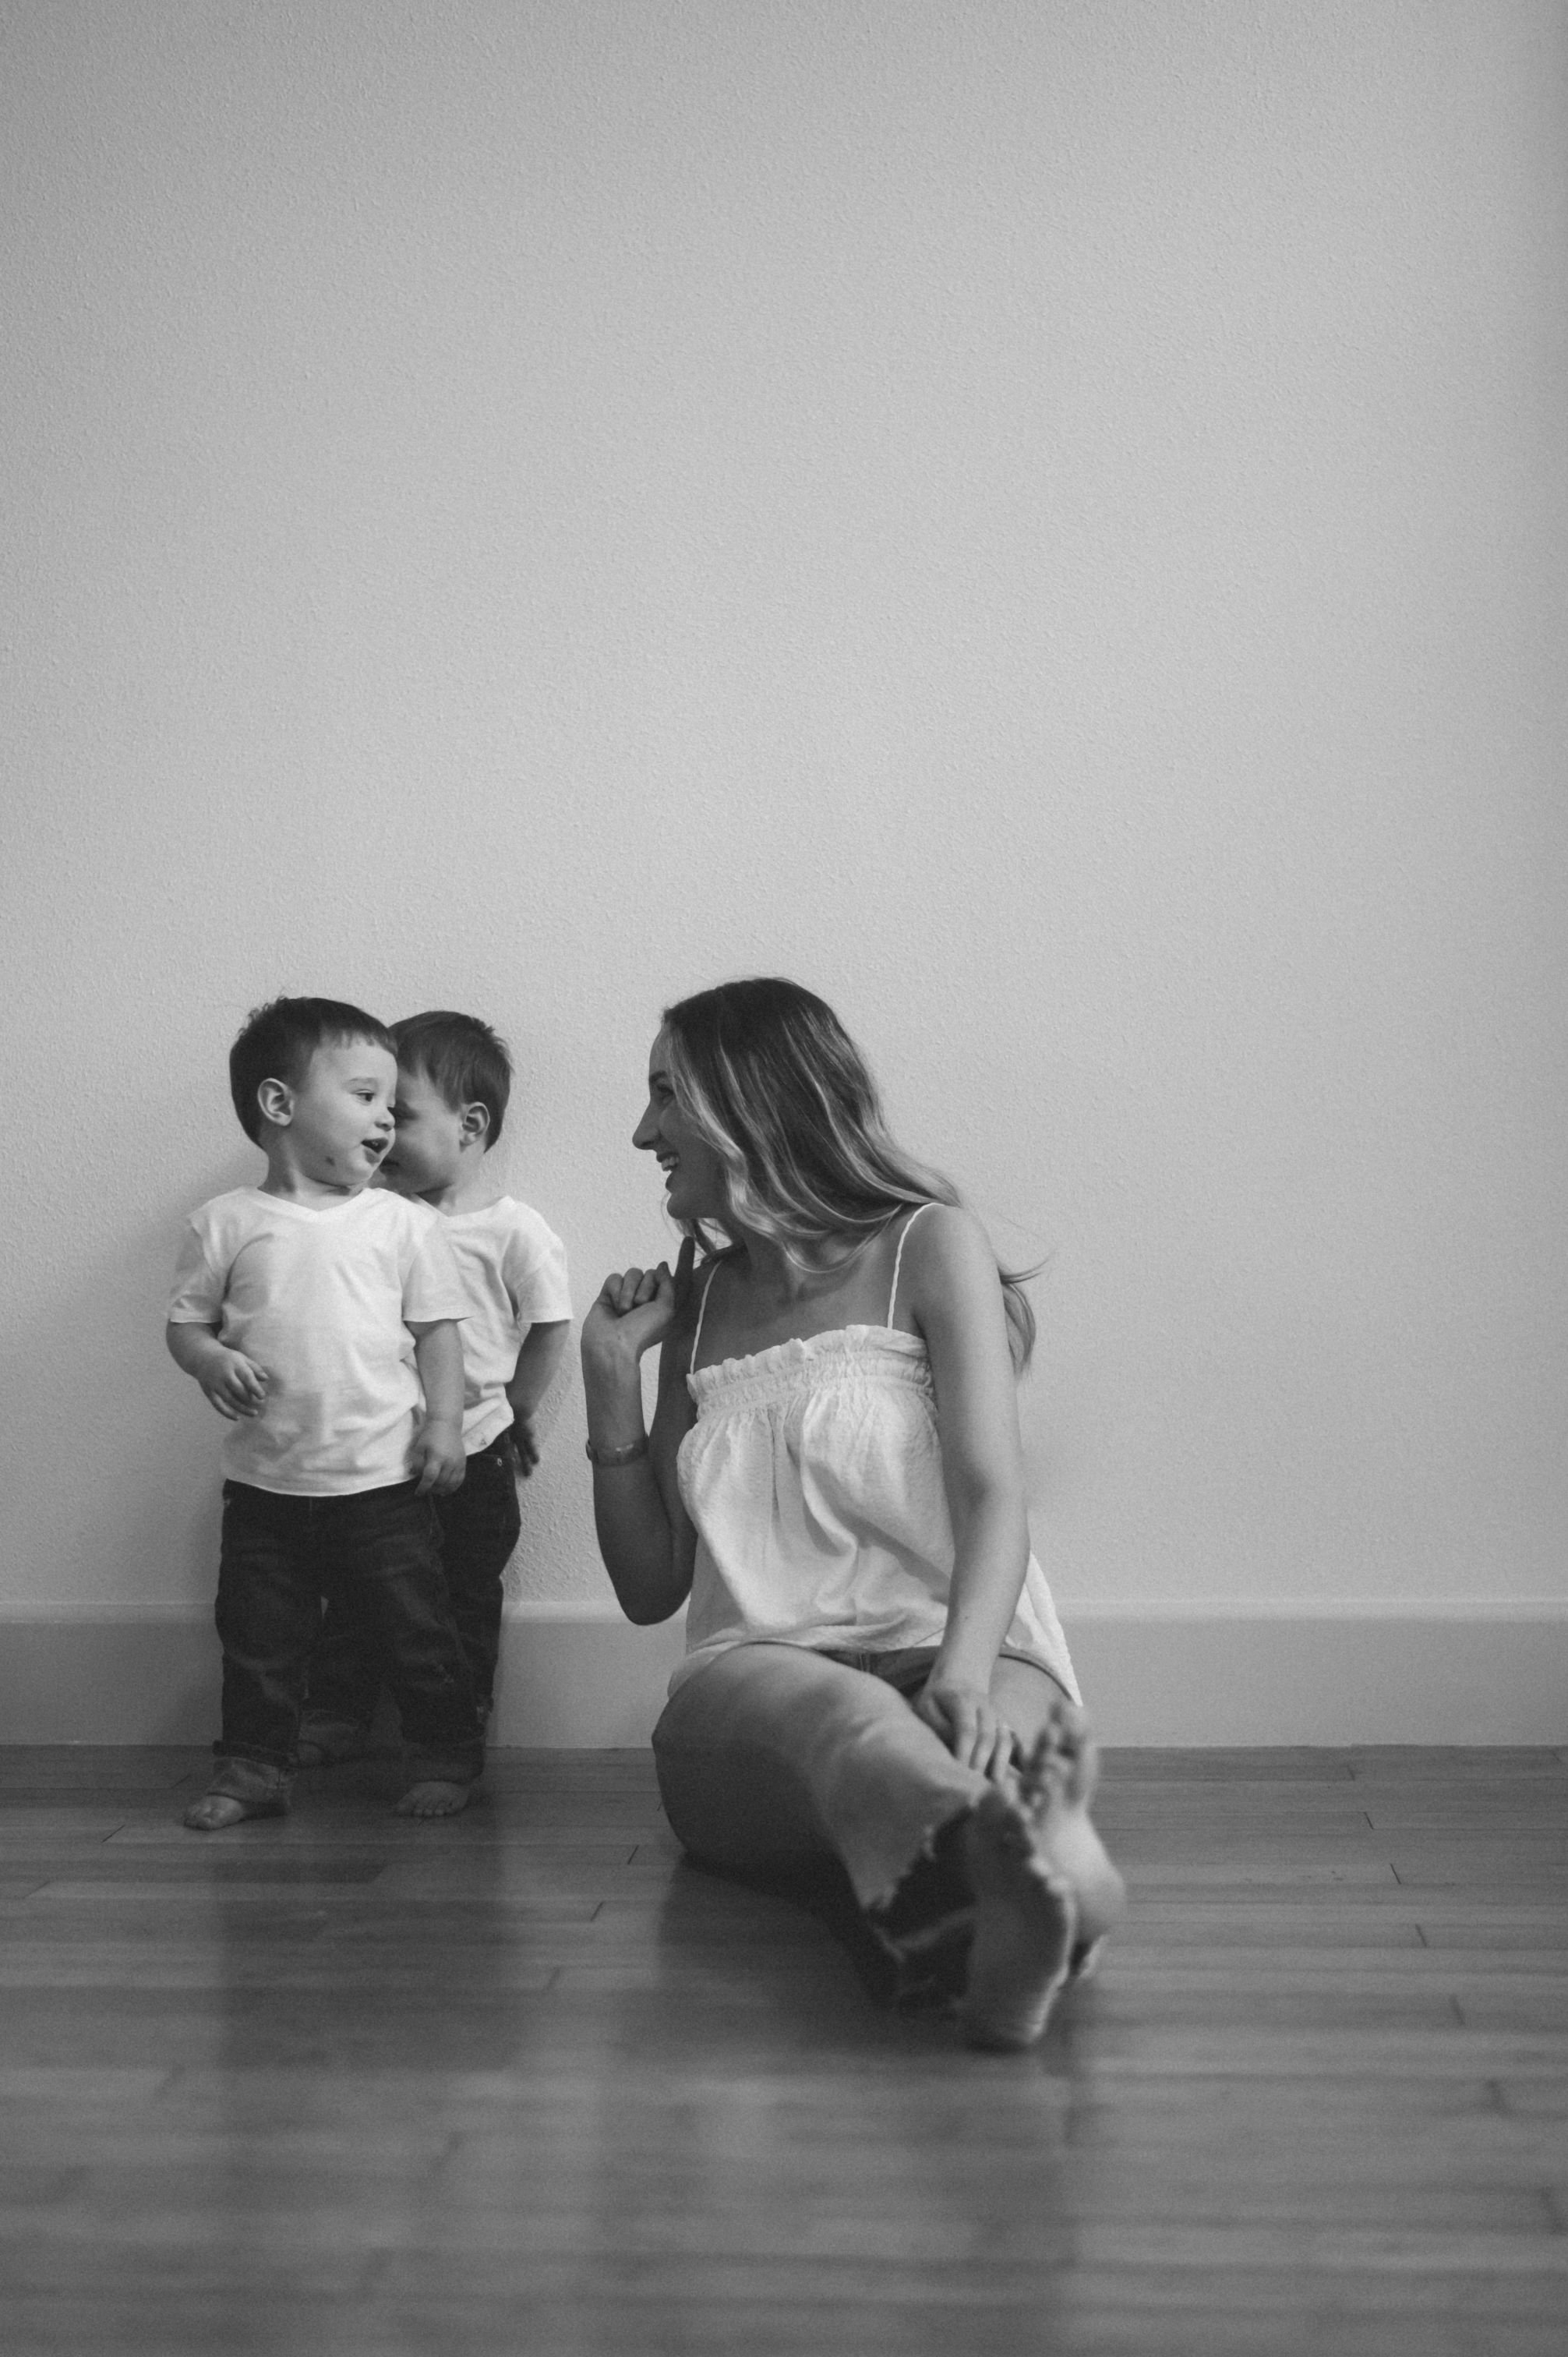
Our family box will house all of our printed family photos that aren’t in our yearbooks or in frames, along with any other small mementos from trips or events that we want to hang onto over the years.
The cut sides on these boxes are on purpose, in case you want to slide out something on the bottom out from the side instead of having to pick everything up. Shop these exact archival boxes HERE or via the widget below – I did the 2-pack, size 11”x15”x3”, which will hold years and years’ worth of photos for us, even 11x14 prints.

This was one more of those projects that allowed me to breathe a deep sigh of relief once I finished. The peace of mind from having these precious keepsakes organized, easy to access and in a safe place – it’s priceless!