
Keepsake Organization Part I: Family Yearbooks
/What a labor of love and a long time coming. Our family yearbooks are finally here! I set out to make these happen a few years ago after seeing my friend Melanie share hers, but I knew I needed to get caught up after doing a complete overhaul of my digital + iPhone photo organization, changing my mindset around taking photos of my children, and really getting serious about those photos being our family’s legacy – not just taking up space on my phone.
Twenty years from now, our kids won’t be scrolling through our phones to revisit their childhood memories. We NEED tangible memories – and to narrow it down so they’re not burdened with an overload of photos.

I cover all the details of how I manage and store my personal photos on this blog, so I won’t go into too much detail here, but part of my system includes copying my iPhone photos onto my external hard drive (and a backup drive and the cloud) at least once a month. As I’m doing that, I go ahead and pick some favorites from that set of photos to save for our annual yearbook. This makes it super easy at the end of the year because we already have our very favorites saved and ready to go.

Why I Chose mPix for Our Family Yearbooks
After lots of research and even starting an account to test things out on four different websites (Artifact Uprising, Milk Books, Blurb, and mPix), I ended up choosing mPix to create our yearbooks. Artifact Uprising’s products are gorgeous but a book the same size and same number of pages was more than twice the cost of mPix. I also very much preferred mPix’s layout options and the ease of their drag and drop features over any of the others.
TIP: If you do an mPix book and want the most easily customizable pages, choose “Empty Page” as you’re building out your spreads, then drag and drop the photos you want onto that page, then change the layout if needed. Way faster!
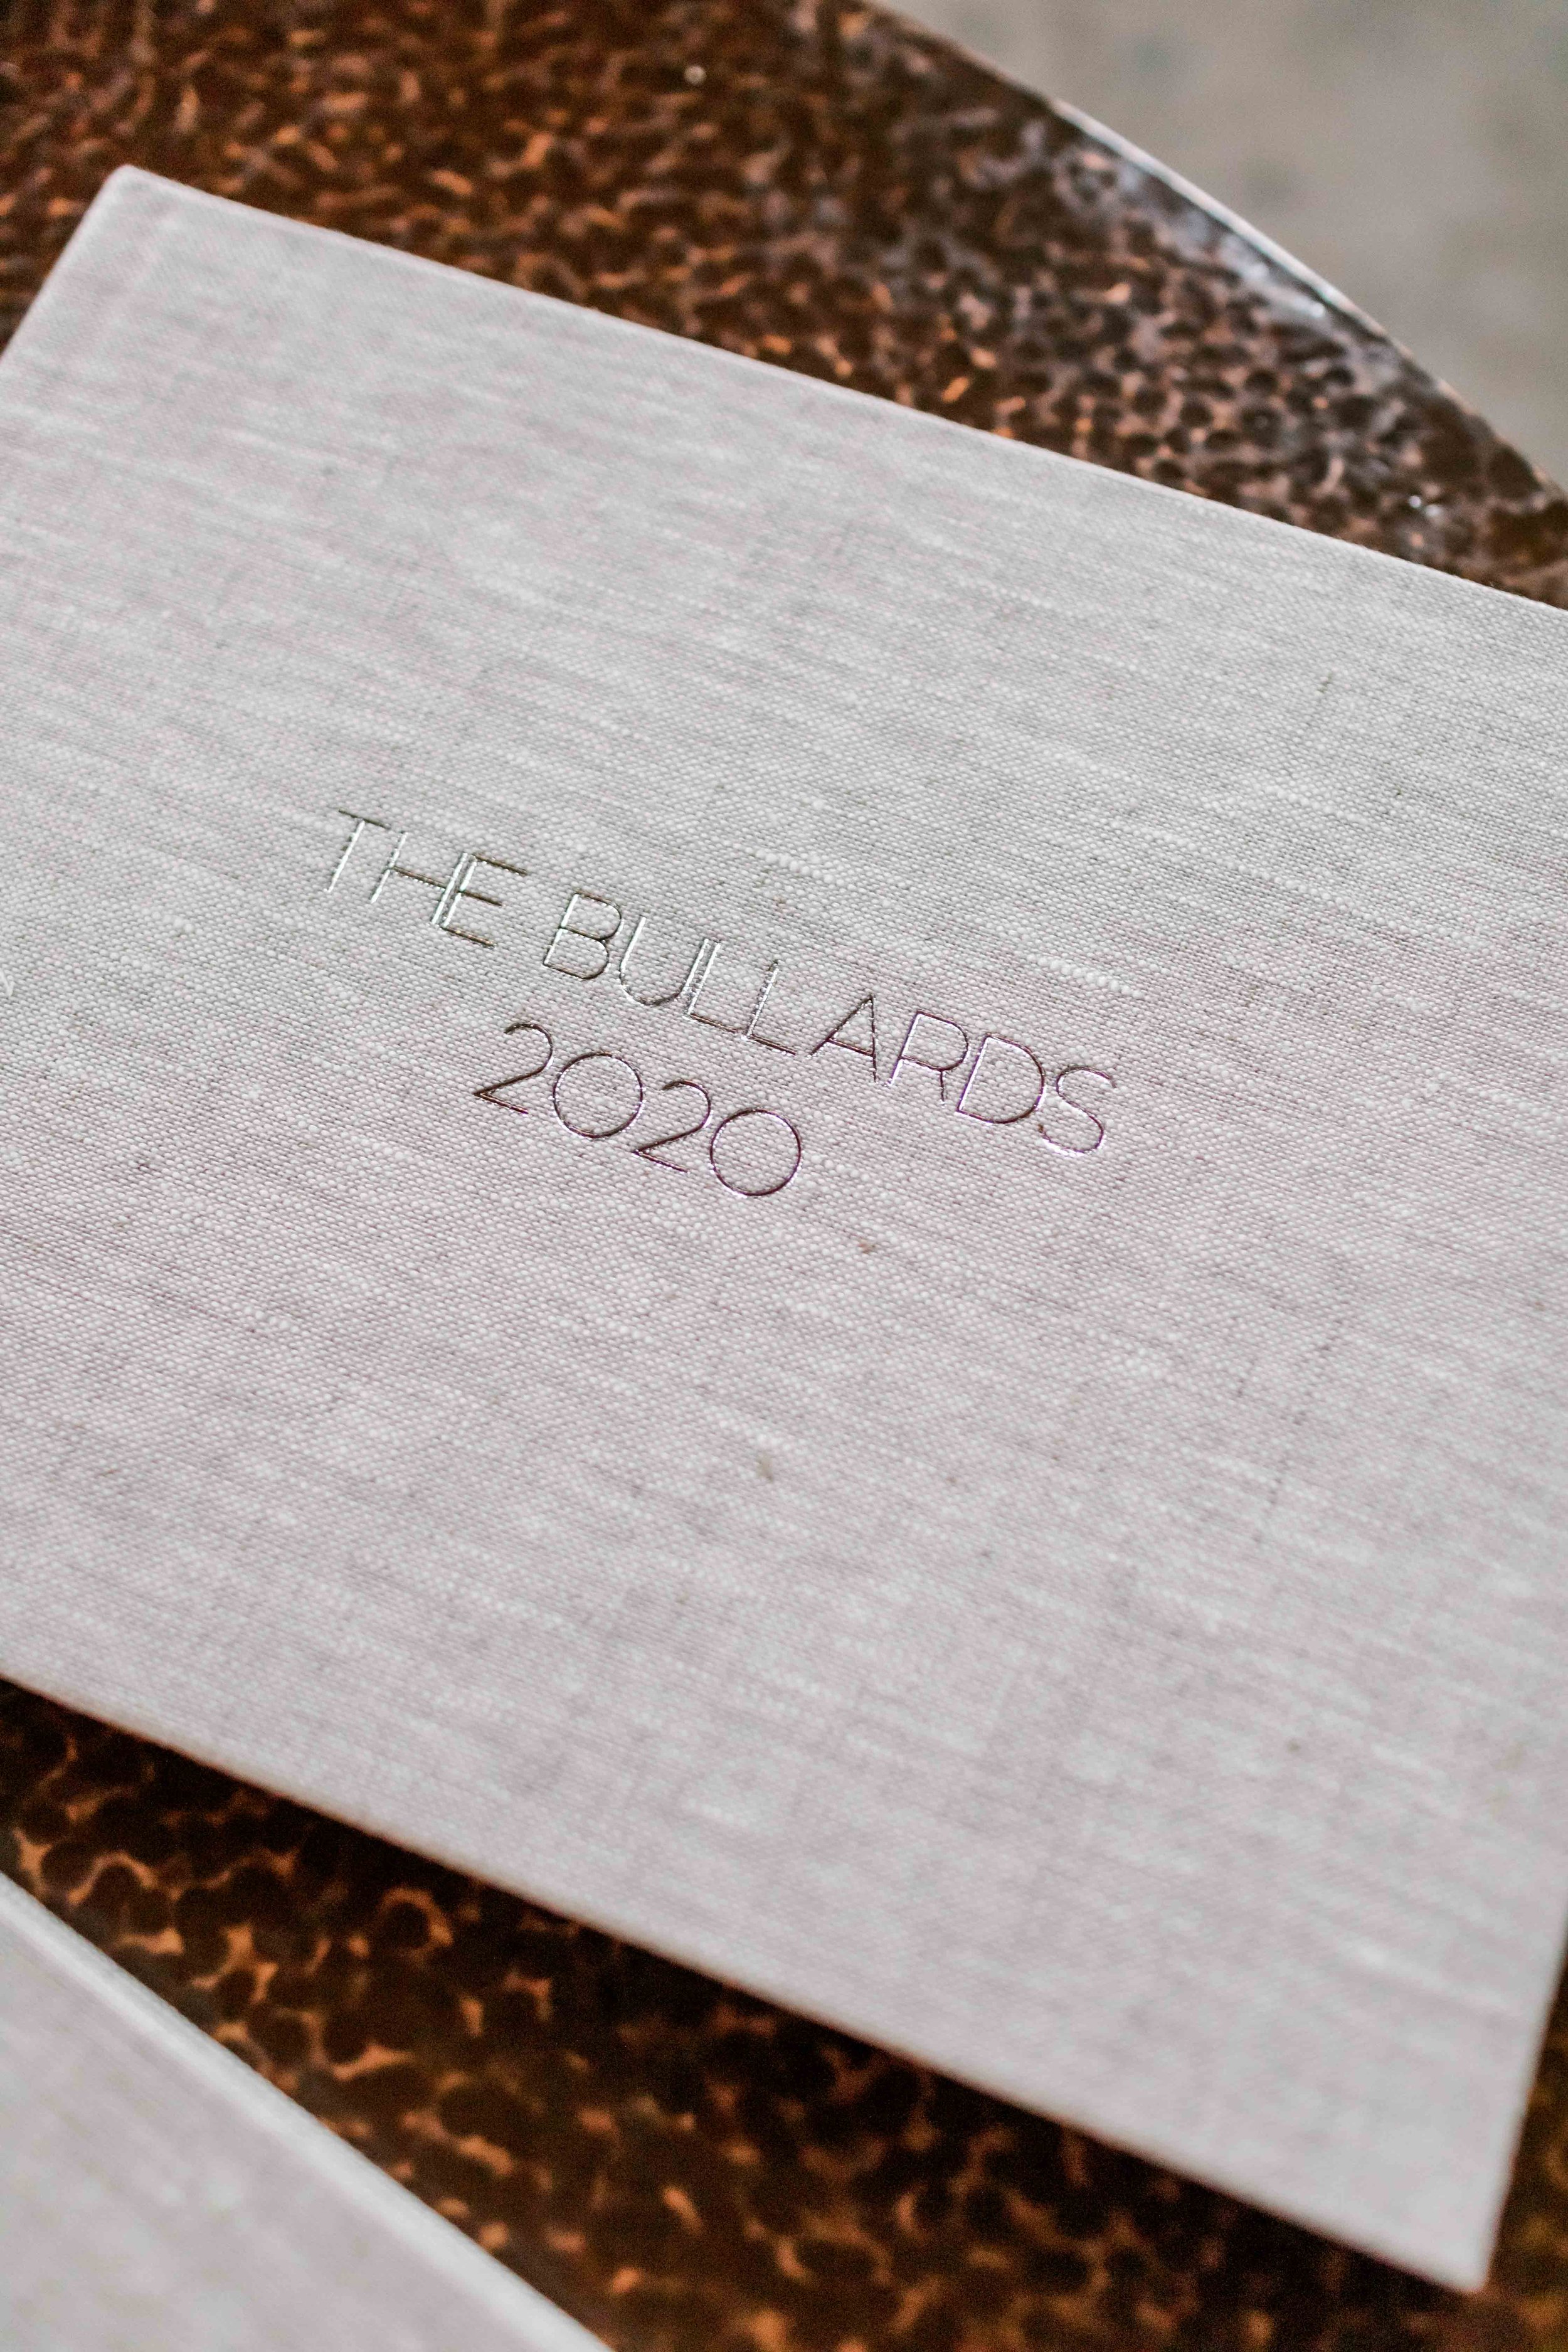
Product Information for our MPix Family yearbooks
I went with the 11x8.5” Premium Linen Hardcover photo book, in the color Sand, with silver foil debossing on the front cover, and a dust jacket. I really would’ve preferred our last name and year foil stamped on the spine itself, but that option was super hard to find on any website in my price range. I ended up loving the dust jackets anyway! I chose a photo from the beginning-ish and end-ish of each year.
Doing a landscape layout meant I could fit more portrait-oriented photos on each page, plenty big but still with plenty of white space so it’s not too overwhelming. I did 3-6 photos per page for the most part.
These books come with 20 pages – ours ended up with 35-45 pages each (about 250 photos per year), so the extra pages, plus debossing and dust jackets made them about $120 a piece. I think these are WELL worth the cost. The quality is incredible – the cover is gorgeous and the matte pages are beautifully printed on sturdy cardstock. Plus, mPix usually runs a 40% off sale sometime in January, or you can get 25% off your first order any time.

Helpful tips for creating family yearbooks
Double check that whichever website you’re using has an auto-save feature and if not, save your work after each page – mPix does not have auto-save and I learned that the hard way, unfortunately!
Beware of issues with HEIC images (what your iPhone probably defaults to). None of the websites I tried accept HEIC photos, so you’ll have to convert to JPEG (use this website to convert several at once, or you can open one in Preview on a Mac and Export it as a JPEG). HOWEVER – when you convert from HEIC to JPEG, the image loses its original date taken info, so keeping things in chronological order was a complete mess. From now on, I’ve changed my phone settings to capture everything in JPEG (Settings, Camera, Formats, Most Compatible).
Another tip – make a Shared Album with your spouse to house your favorites/best of the best, so their favorites from their phone get included. I’d been keeping track of my favorites all along but getting caught up on five years’ worth of books meant Andrew had to go back and look through five years of photos on his phone and pick out his favorites, too. Having him put them in our Shared Album will make things easier from now on.
We’ll also do a Shared Album for videos that’ll make our yearly family movies even easier, too. For these, I just drag and drop all of our videos from each year into iMovie and it automatically puts them in the right order and makes a compilation. No transitions, no fancy editing, just all of our favorite videos from the year strung together to make one long movie. It’s so easy but such a treasure!


Thoughts on Quality over Quantity
Honestly, I haven’t been taking as many photos of my kids these days. They’re little busybodies, and while I want to remember these days, I also want to cherish them as they’re happening and not have my phone or my big camera in their face constantly. I took about 650 total photos and videos on my phone in 2023 and about 1000 in 2024 – there’s no magic number, but narrowing down 250 favorites from those was tough enough, and we still ended up with beautiful yearbooks full of photos that make us smile.

No Matter What – Print your Photos
These yearbooks are incredibly special to us and I know will be cherished for a lifetime, and hopefully beyond. Whatever you do, no matter how you choose to do it, whether it’s monthly Chatbooks, big yearly albums, a combination of both, or even just regularly printing 4x6s of your favorite iPhone photos and putting them in an old-school album – print your photos. It’s so worth it!
