
What to Know Before DIY-ing a Barn Door Kit
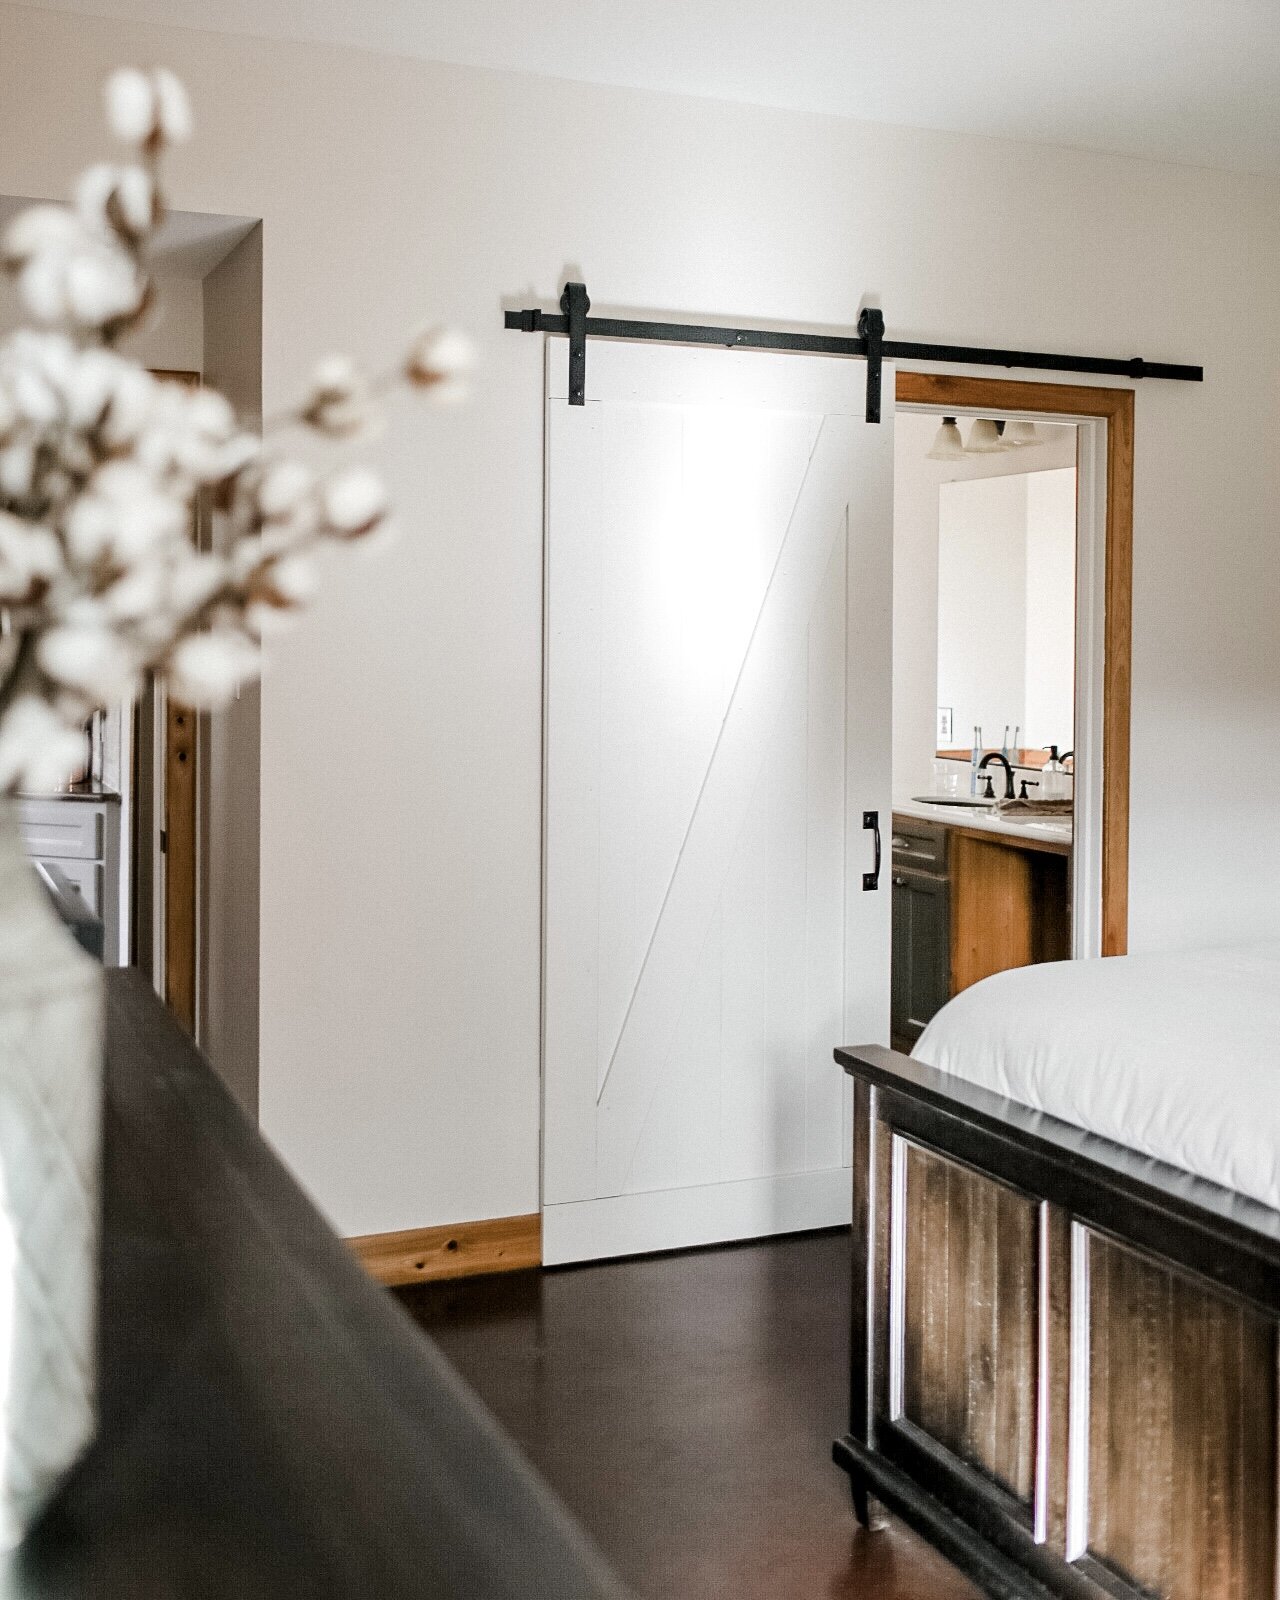
/I’d been wanting to replace our bathroom door with a barn door from the day we moved in. Our old door opened straight into our shower and the shower door was always hitting it, so I knew a sliding door would be more functional.

We went with the Northbeam Canadian Hemlock Unfinished Sliding Barn Door with Hardware kit from Home Depot for a few reasons - I liked the simplicity of the design and the size was large enough to cover not only the opening but the door frame + trim as well, when closed (we went with the wider 36” option rather than 30” or 32”). And, it was a good price compared to other kits I saw. We opted for ship-to-store and the whole kit came in a long skinny box. My dad actually put the door itself together for me one day while I was gone shooting a wedding, but he says that part was easy! All the screws for turning the planks into a door were included and that part didn’t take very long. It’s what came next that turned this into the DIY project from hell.
If you’re considering replacing a regular door with a barn door using a DIY barn door kit, here’s what to know (from a rookie DIYer’s perspective).

Double check the hardware clearance
Some of the product photos on Home Depot’s website all show the door’s hardware (the black metal pieces) hung directly onto the wall, while some show the metal sliding rod nailed to a piece of wood, with the wood hung on the wall. The difference - which I didn’t realize until we’d put the door together and were attempting to hang it up, is that the piece of wood is needed for clearance if you’re hanging the door over an existing door frame/trim. You can only hang the metal hardware directly on the wall IF there is no trim piece to clear.
I really, really did not want the extra piece of wood on the wall, nor did I want to remove the trim around the door frame (that would’ve been a whole other project to repair). I wanted the metal track piece to hang directly on the wall. SO, we did a little workaround and lengthened the hardware by placing an inch worth’s of washers (spray painted black to match the spacers that came with the kit) between the wall and the track. Problem solved! Until we ran into the next one…
Double check your stud width
The Northbeam Barn Door Kit comes with five holes pre-placed 16 inches apart to screw the track into the studs of your wall, which is great – IF your studs are all 16 inches apart like most are. Of course, one of the studs in our wall was 18 inches from the next one, which posed a problem. We ended up putting a drywall anchor in the wall so the screw would have somewhere to go, but we didn’t rely on that one to bear any weight. Luckily, the other four screws that did go into the studs were able to hold the weight of the door on their own just fine.

Paint your barn door with latex paint or spray paint
Here’s where the DIY barn door project got really fun. Really, really fun. All the paint in our house is Sherwin Williams, so I went that route to buy paint for the door. My original plan was to paint it the color of our bathroom cabinets - a dark olive green. I thought a pop of color in our neutral master bedroom would be nice. When I told her I was painting a bathroom door, the Sherwin Williams employee told me to go with oil-based paint to help with moisture resistance. Me, being the complete DIY rookie I am, took her advice no questions asked … and after one coat of oil-based paint on the door, I was real sorry I had.
if you’re like me and have never used oil-based paint, you wouldn’t know that it is NOTHING like regular latex paint. The unfinished wood of the barn door kit soaks up oil-based paint incredibly fast – I felt like I had to pour half the can just to get any decent surface area covered. Plus, it shows every. single. brush stroke. Every single one. You have to paint with such precision, and to add to the misery, oil-based paint on wood is VERY finicky as it dries and if it’s the least bit humid, it will dry very sticky.
After finishing the first coat of paint and coming to terms with the fact that it looked like complete shit, I sanded the whole thing and started over. Getting the paint into the screw holes and crevices in between the planks of wood made me wish I would’ve painted each plank separately before ever assembling the barn door. Lesson learned: if you plan to paint or stain your DIY barn door, paint or stain the planks BEFORE you build the door.
A second round of paint and still … the paint looked like crap. Sticky in some places, completely dry in others, smooth in some places, rough with brush lines in others … plus, after hanging the door on the tracks, I realized the dark olive green was TOO dark for our bedroom, which doesn’t get a ton of natural light. I decided to sand the whole thing down AGAIN and start over – this time, with regular latex paint, the same light color as the rest of our doors. I can’t tell you what a relief it was to paint that door the third time and have it go on smoothly and easily! I painted the whole door with latex paint and found a matte finish clear coat in a spray can that I sprayed over the whole door to seal it and help repel moisture. Ta daaaaa!
Don’t forget your handles
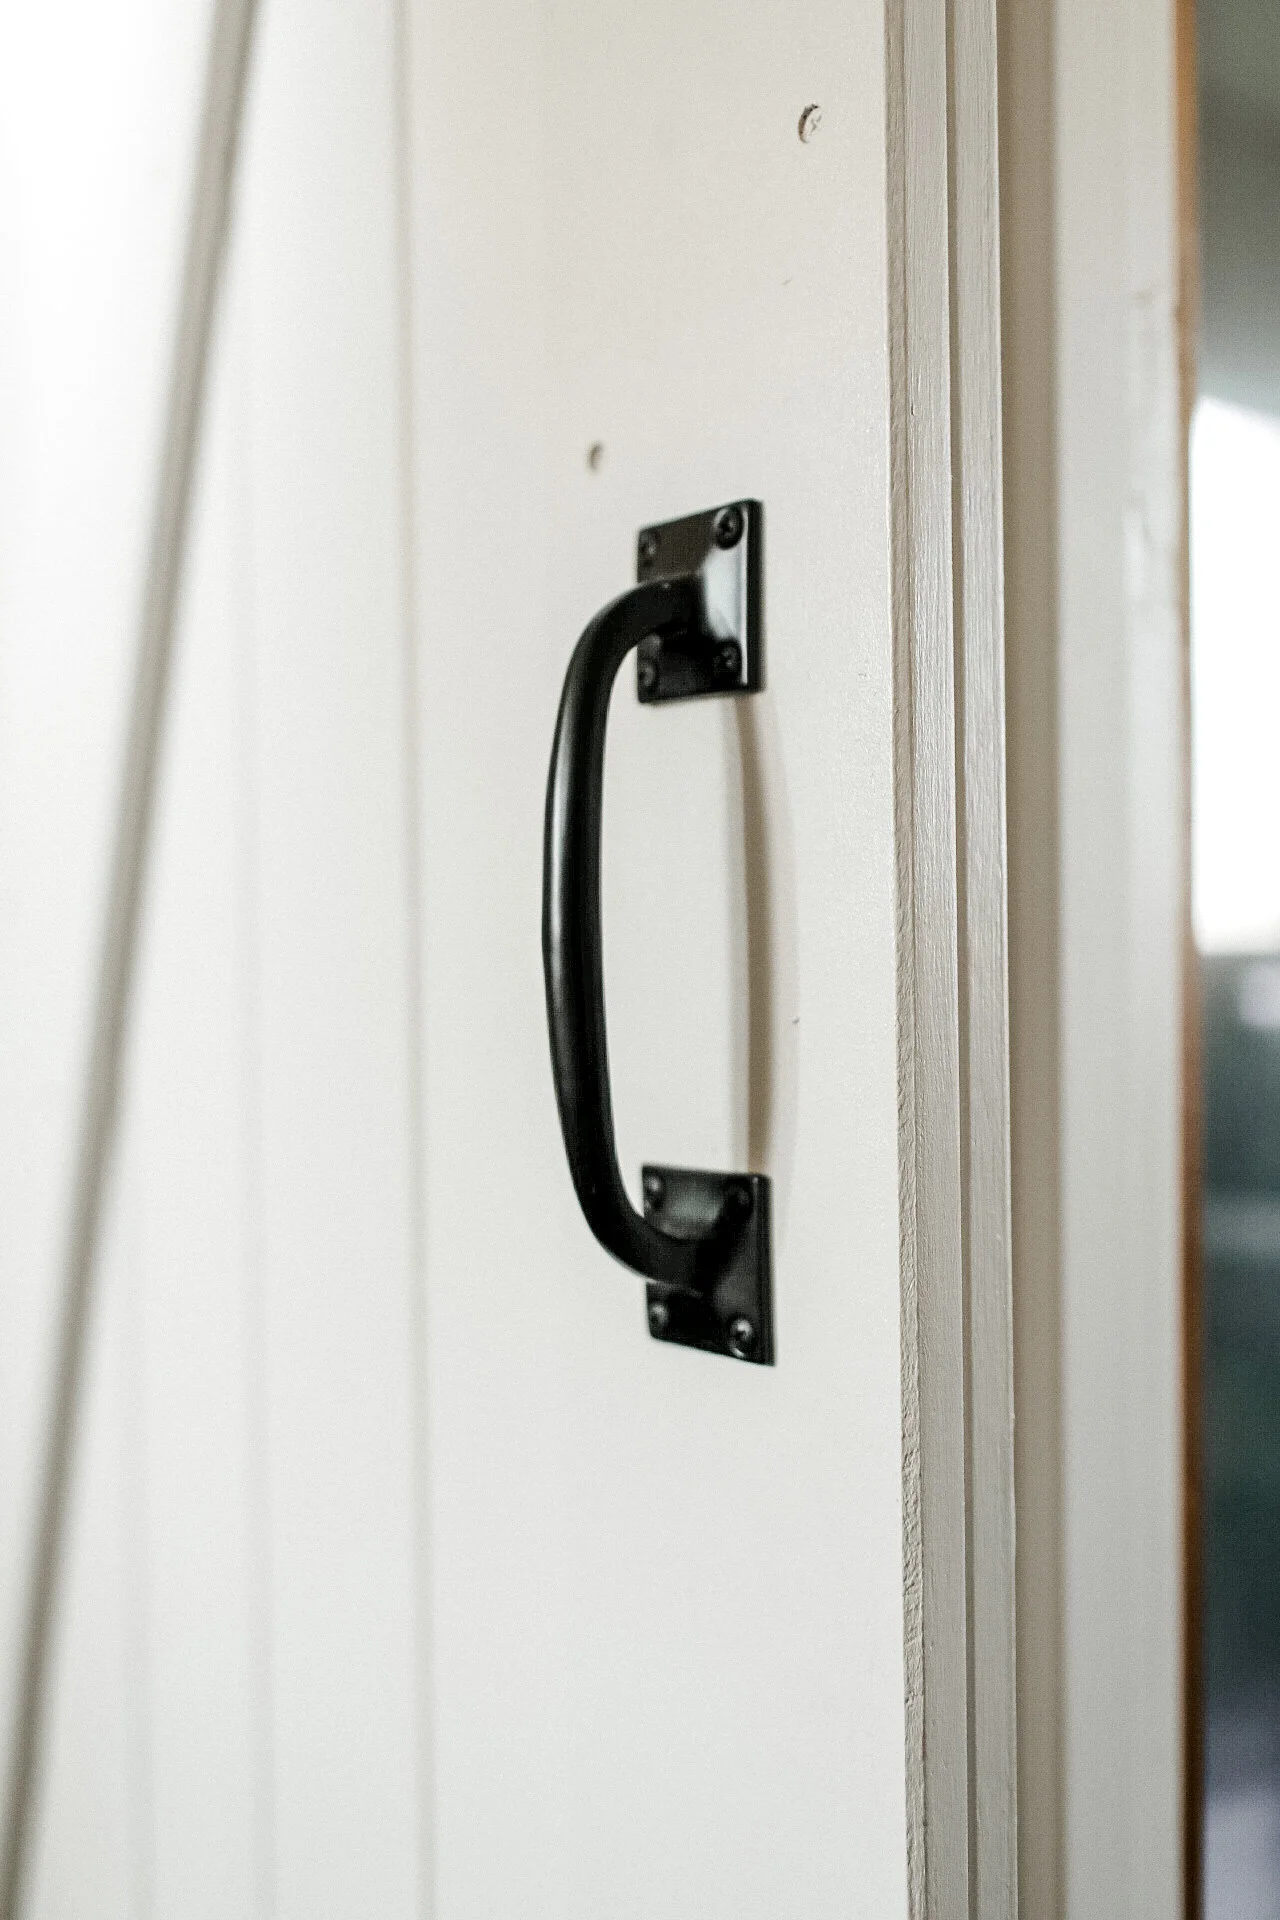
Time for the final touches! The Northbeam Barn Door kit does not come with handles for the front or back of the door – you’ll have to buy those separately. We got this beautiful oil-rubbed bronze barn door handle for 16 bucks! We measured other doors in our house to see where the handle fell – it seems lower than you would think, but once we hung it, it was definitely at the right height.
The back of the door (the side we see from the bathroom when the barn door is slid closed) can’t really have a handle because otherwise it couldn’t open without hitting the wall, but it definitely needed some sort of indention to make it easier to pull closed - we screwed a small circular indented metal piece into the back of the door and it’s worked great.

Last notes about the DIY Barn Door Kit
You’ll need a floor piece to guide the door as it slides on the track, so it doesn’t sway back and forth. If you have wood floors, it’s no problem to screw this piece in (it comes with the kit), but we have concrete floors and didn’t want to drill into them, so I secured the floor piece with Command tape and it’s held in place just fine.
Had I had a little more forethought before beginning this project, I would’ve planned to repair the door jamb where the hinges of the old door were removed with a totally new piece of trim. I just repaired the hinge holes with wood filler and painted over them. It doesn’t look wonderful, but it’ll do until we can replace the door frame.
All in all, I’m really happy with how our door turned out. Hanging the door on the track was the easiest part of the whole project! And it slides so smoothly – soft closing and no squeaking at all, which was a relief. I can definitely recommend the Northbeam Barn Door kit from Home Depot – just beware of the steps involved and don’t make the same mistakes I did!
